
Dealing with this right now? See our leak detection & repair coordination service, and we respond fast across Westpark. Or call +1 (201) 277-9344 any time — we answer 24/7.
The idea of a slab leak scares people for a reason that is only half true: the fear that finding it means tearing up the entire floor to hunt for the source. That used to be closer to reality decades ago. Today, non-invasive leak detection equipment can usually pinpoint a slab leak to within a small, specific area before anyone touches the concrete.
For a lot of Sacramento Valley homes built in the 1980s and 90s on slab-on-grade foundations, original copper supply lines are now reaching the age where hard water has worn through them at a joint or a bend. This guide walks through how professionals actually locate a slab leak, without guesswork and without unnecessary demolition.
Why slab-on-grade homes are especially exposed
In a slab-on-grade home, supply lines run underneath the concrete foundation rather than through an accessible crawl space. That is efficient for construction but means any leak in those lines is, by definition, hidden from view. Water finds a path along the pipe and up through the slab, or laterally through the soil, before it ever shows as a wet spot.
Sacramento Valley's hard water accelerates the pitting and pinhole corrosion that eventually opens a leak in copper pipe. Many tract homes from the 1980s and 90s building boom are now hitting that first repair cycle at the same time, which is why slab leaks are a pattern we see repeatedly in certain neighborhoods rather than a rare fluke.
The signs that suggest a slab leak before detection even starts
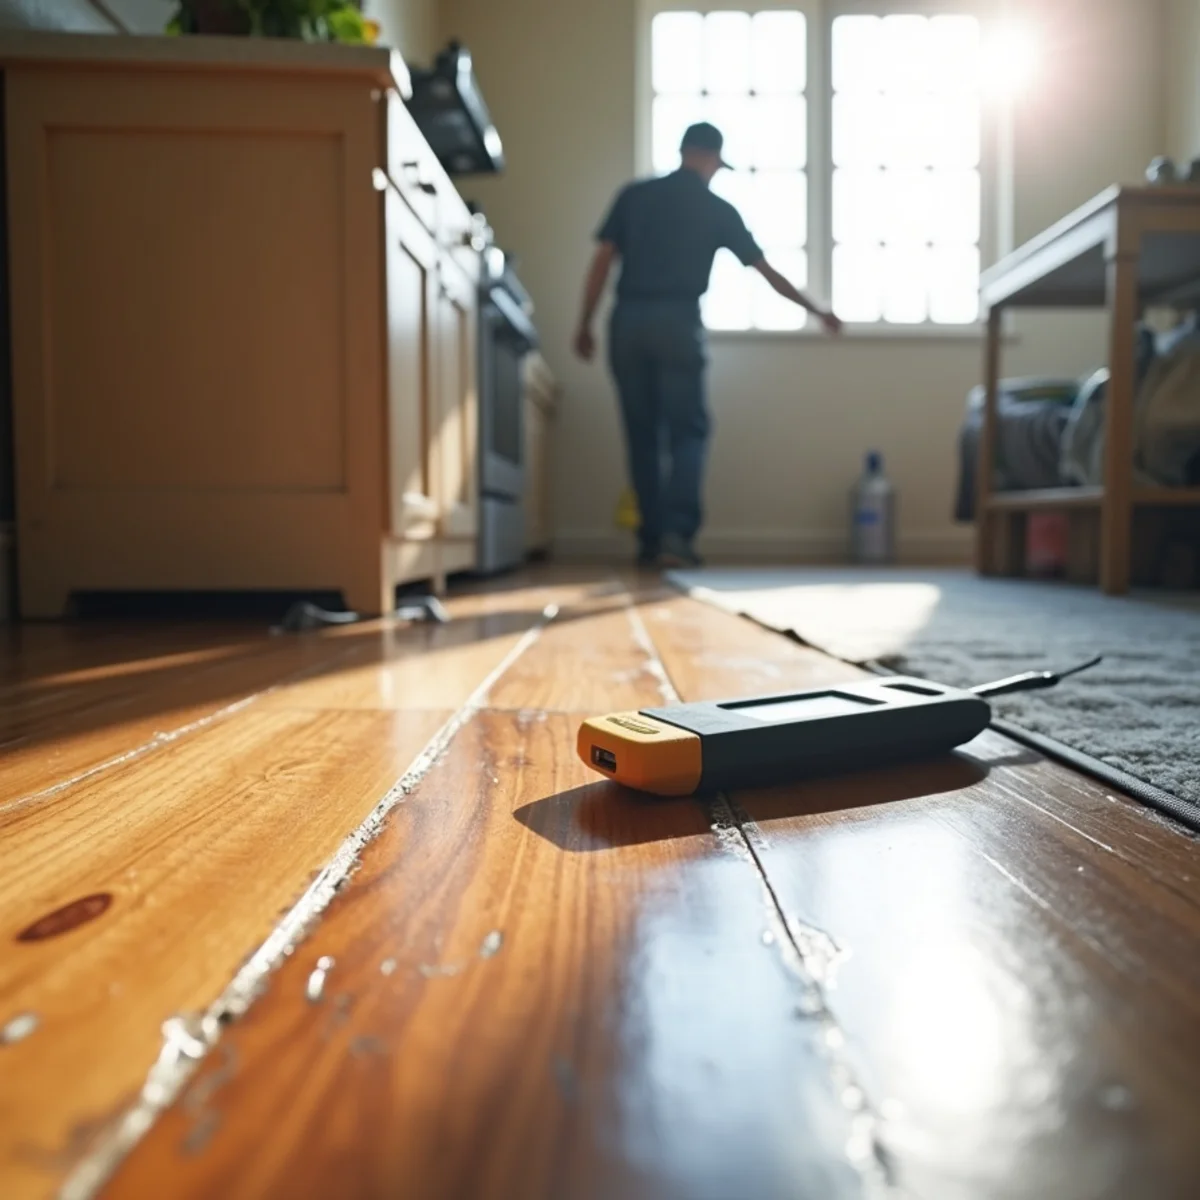
A few signs point specifically toward the slab rather than a leak elsewhere in the house. A warm patch of flooring with no other explanation usually means a hot water line leak under that spot. The sound of running water when every fixture is off, especially if it is loudest near the floor, is another strong indicator.
An unexplained spike in the water bill, combined with a damp or warm patch of flooring, cracking in the slab or the flooring above it, or a persistently damp area of carpet or laminate near an interior wall, are all worth reporting when you call — they help narrow the search area before equipment ever gets involved.
Acoustic detection: listening for the leak
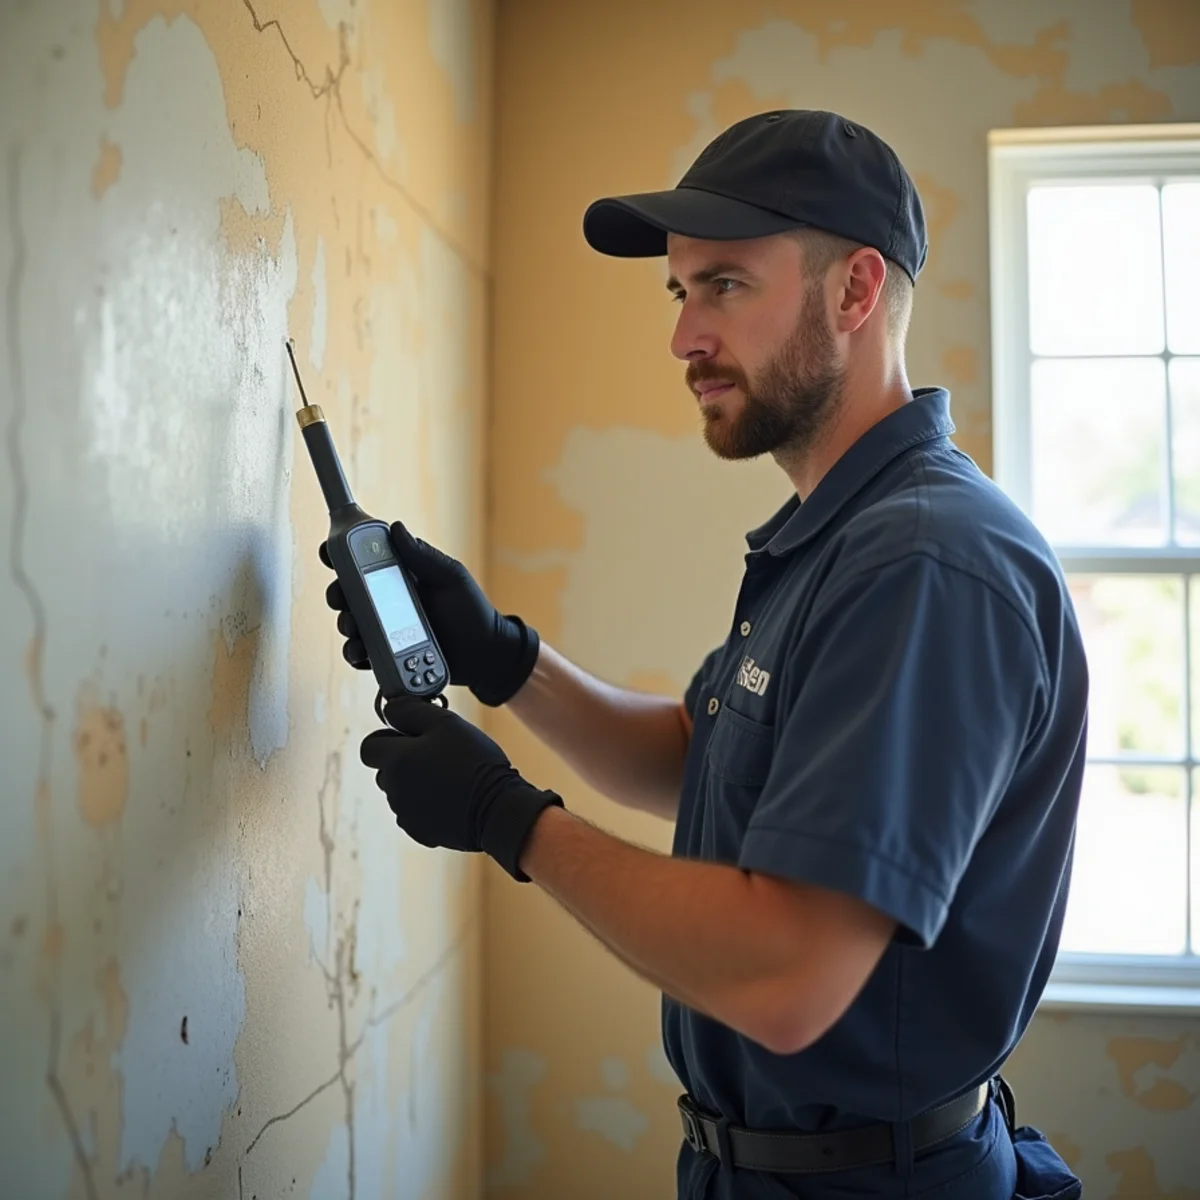
Acoustic leak detection uses sensitive listening equipment to pick up the specific sound water makes escaping a pressurized pipe — a hiss or rush of noise transmitted through the pipe and surrounding concrete. A technician moves the equipment across the suspected area, listening for where that sound peaks in intensity.
This works especially well on pressurized supply lines because the leak itself is actively producing sound as long as the line stays under pressure. It is one of the most direct ways to narrow a leak to a specific few feet of slab rather than an entire room.
Thermal imaging: seeing the temperature difference
Infrared thermal cameras detect temperature differences on the surface of flooring and walls. A hot water line leak under a slab warms the concrete and flooring above it just enough to show up as a distinct warm zone on a thermal camera, even when it is not perceptible by touch yet.
Thermal imaging is especially useful as a confirmation tool alongside acoustic detection, and it also helps map how far water has spread laterally from the actual leak point, which matters for scoping the drying work afterward.
Moisture mapping and pressure testing
Moisture meters read relative moisture content across flooring and baseboard to map how far dampness has traveled from the leak source, helping define both where the leak likely is and how much material has already been affected. Pressure testing on isolated sections of the plumbing system can also confirm which line is losing pressure, narrowing whether the leak is on the hot or cold side and roughly where along that line's run.
Combined, these methods typically narrow a slab leak down to a specific, limited area — often a couple of square feet — before any concrete gets opened. That is the difference between a small, targeted repair and unnecessary demolition across a room.
- 1Gather symptoms: warm spots, sounds, water bill, cracking
- 2Acoustic detection to pinpoint the sound of the leak
- 3Thermal imaging to confirm and map the warm zone
- 4Moisture mapping to see how far water has traveled
- 5Pressure testing to confirm the specific line
- 6Mark the targeted repair area for the plumber
What happens after the leak is located
Locating the leak is our piece of the job. The actual repair — accessing the pipe, whether through a small targeted slab cut, rerouting the line above the slab, or repiping a section — is plumbing work, and we coordinate that timing with your plumber so the two pieces move together.
While that is happening, we handle extraction of any standing water, remove flooring or baseboard that has been damaged beyond drying, and run structural drying equipment with daily moisture readings until the affected area is confirmed dry, then document everything for your insurance adjuster.
A small cut beats a guess every time
Non-invasive detection means the difference between opening a few square feet of slab in exactly the right spot and opening a much larger area hoping to find the source.
Why not every slab leak sounds like a leak
Acoustic equipment picks up the hiss of a pressurized line, but a leak on a drain or waste line under the slab is not pressurized. It only moves water when a fixture is actually being used, so it produces no continuous sound for the equipment to find. If a home has a damp spot near the slab but acoustic detection shows no pressure loss and no hiss, that is often the tell that the problem is a drain line, not a supply line, and the search needs to change direction.
The mistake to avoid is assuming every under-slab leak has to be the "classic" pressurized supply-line leak, running acoustic detection, finding nothing conclusive, and calling it a mystery. A drain line issue needs a different tool — a camera run down the line, sometimes paired with a dye test — and getting to that answer faster just means recognizing early that the acoustic signature is not there. Knowing which category you are dealing with early also changes the urgency: a pressurized supply leak keeps losing water and doing damage around the clock, while a drain leak only acts up when that specific fixture gets used, which sometimes buys a little more time to plan the repair properly.
- Supply-line leaks are pressurized and continuous — they hiss even when nobody is using water
- Drain and waste line leaks are gravity-fed and only leak when a fixture runs — acoustic tools often miss them
- A camera run down the drain line is the right next step when a supply-line check comes back clean
What decides between a spot repair and a full repipe
Once the leak location is confirmed, there is usually still a decision to make with your plumber: a point fix at that one spot, or rerouting the line above the slab so the whole run is no longer buried under concrete. Restoration is not the piece of the job that makes that call, but knowing what factors go into it helps you understand what your plumber is proposing and why.
The choice usually comes down to the age of the pipe, how many leaks the home has already had, and how accessible the spot is. A single pinhole in original 1980s or 90s copper is worth treating as a signal that nearby sections of the same run are aging the same way, not as an isolated event. A leak under a load-bearing wall or below built-in cabinetry also shifts the math toward rerouting above the slab rather than cutting concrete in a spot that is expensive to access.
- How old the copper is and whether it is the home's original line — one pinhole often means nearby sections are close behind
- Whether this is the first leak in the house or a repeat problem
- How accessible the spot is — a leak under a load-bearing wall or built-in cabinetry favors rerouting above the slab
- Whether the goal is fixing this one leak or ending the repeat-emergency-call pattern for good
Frequently asked questions
With accurate non-invasive detection, most slab leak repairs need only a small, targeted opening, sometimes just a couple of square feet, rather than a large section of floor.
The equipment involved — acoustic listening devices, thermal cameras, pressure testing gear — takes training to interpret correctly. A false read can send a repair to the wrong spot, so this is worth leaving to a professional the first time.
Most slab leak detection visits take a couple of hours depending on the size of the home and how many signs point to a specific area versus needing a broader search.
Yes, we serve Westpark regularly, including its slab-on-grade homes now old enough to be reaching first-repair-cycle age on original copper lines. We coordinate detection, drying, and the plumbing repair as one job.